A customer asked if I could do a stock looking Redarc trailer brake controller install in a 2nd Gen Tundra/Sequoia. Here’s my process for those of you who might want to tackle the same project.
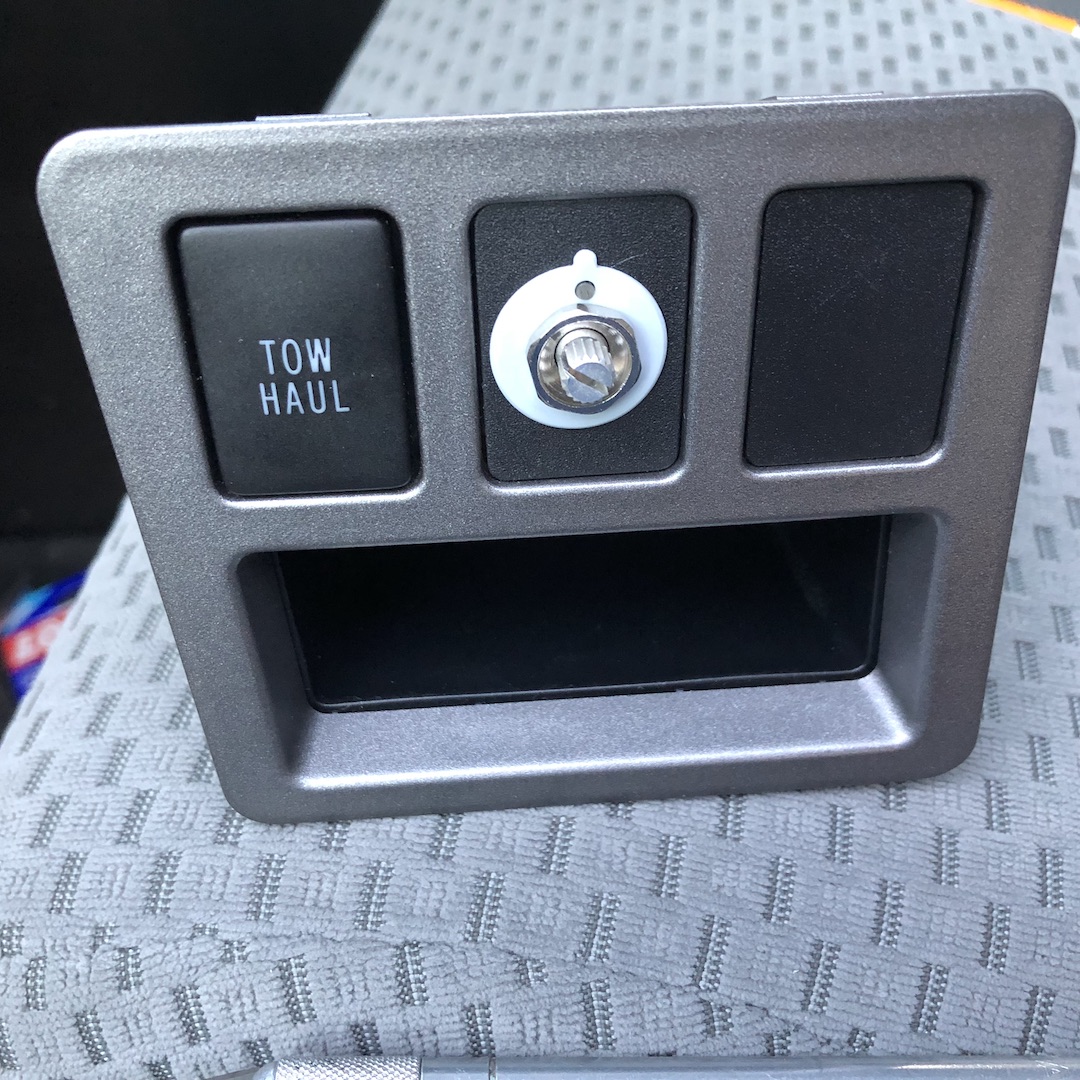
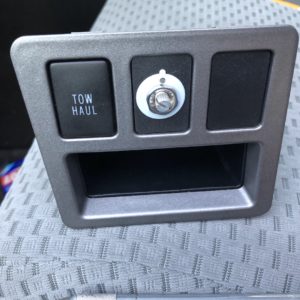
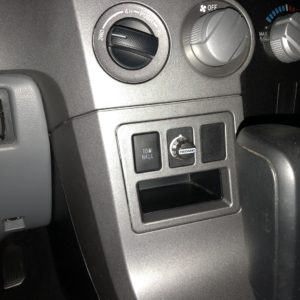
First I picked a location for the button. Right beside the Tow Haul button seemed to be the most logical place to put it.
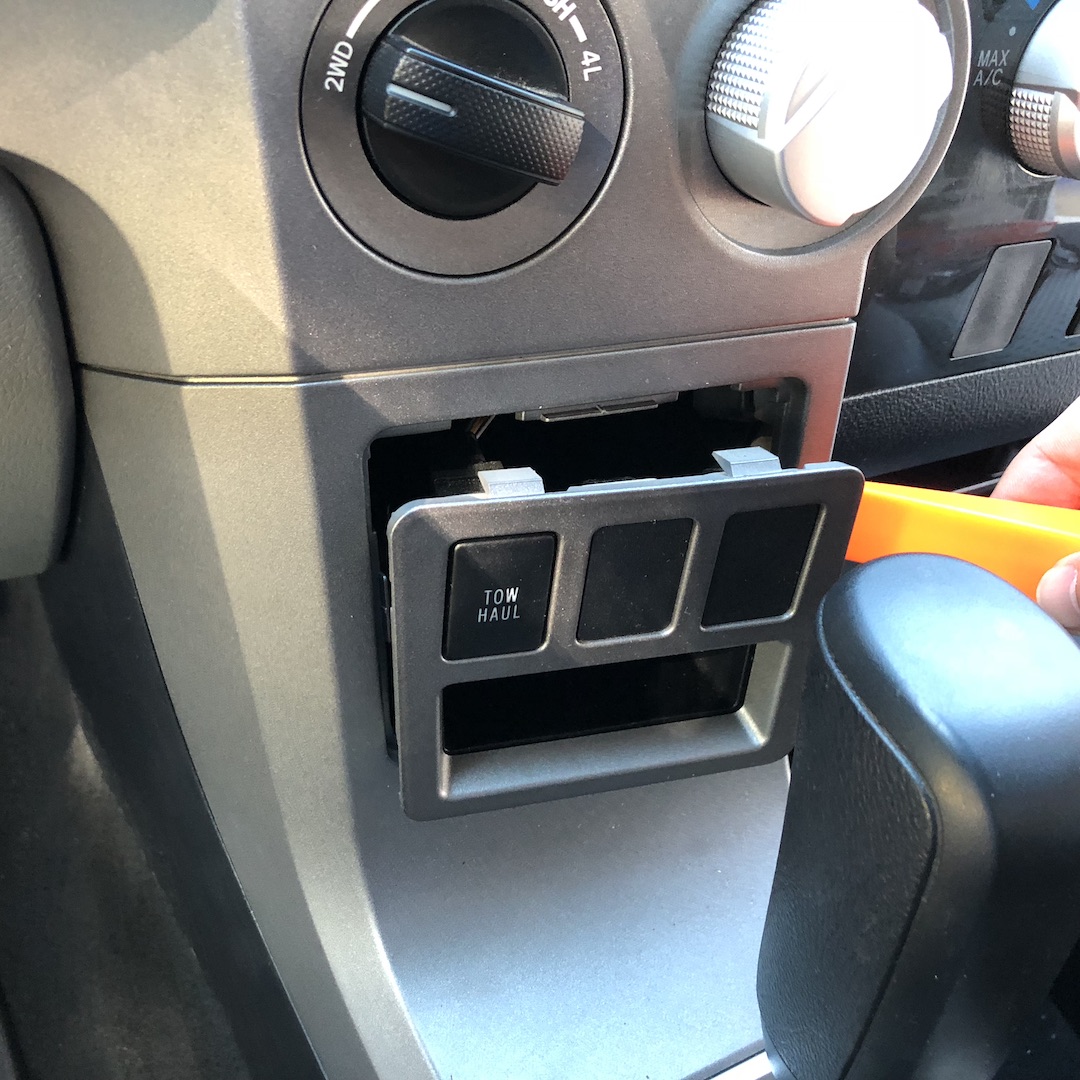
I pulled the panel that has the Tow Haul button, the two blanks and the small storage pocket.
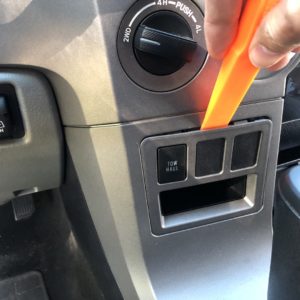
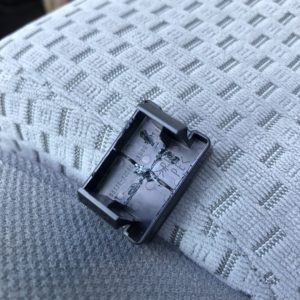
Removing the panel for easier access to the back of the switch blanks.

Removing the panel from the stack.
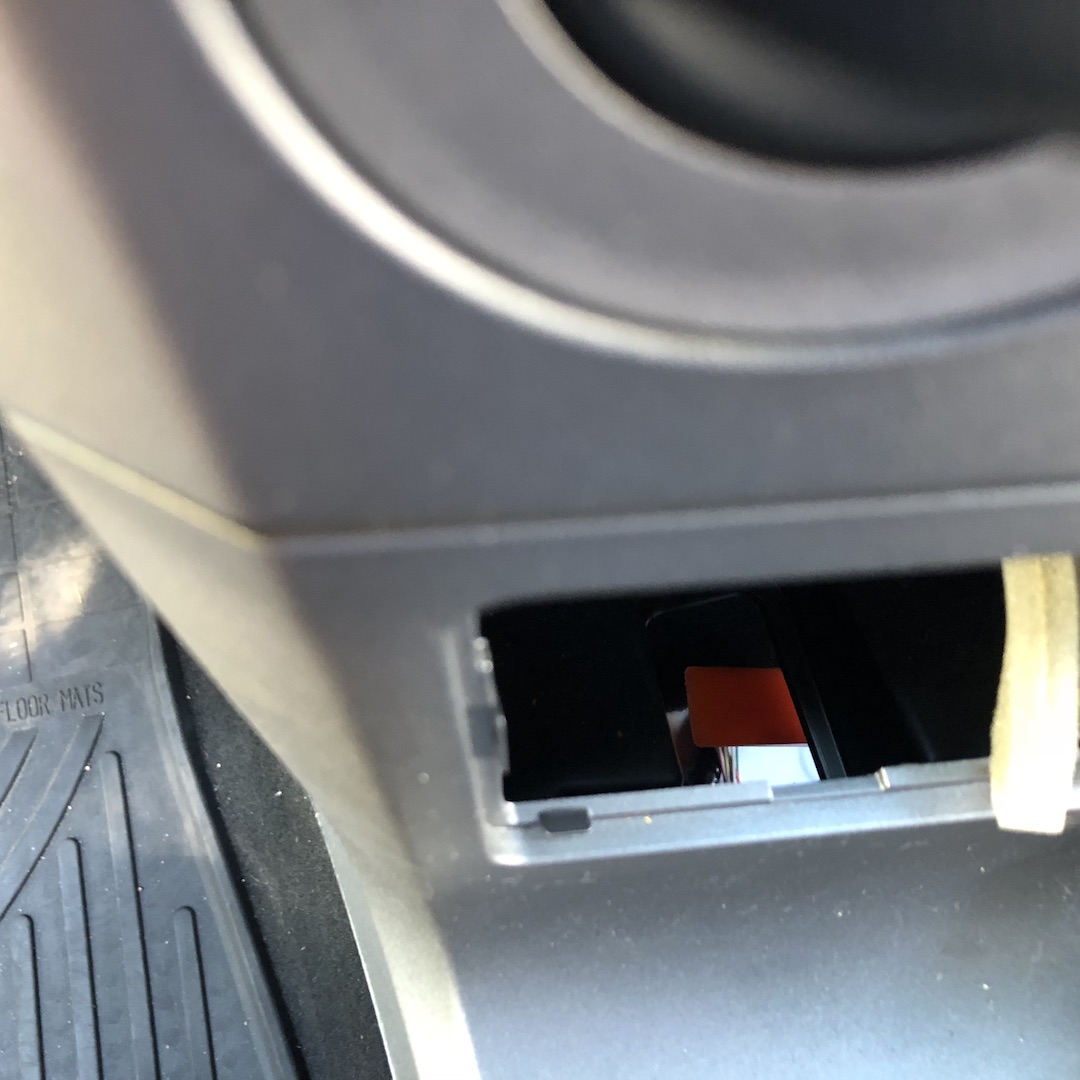
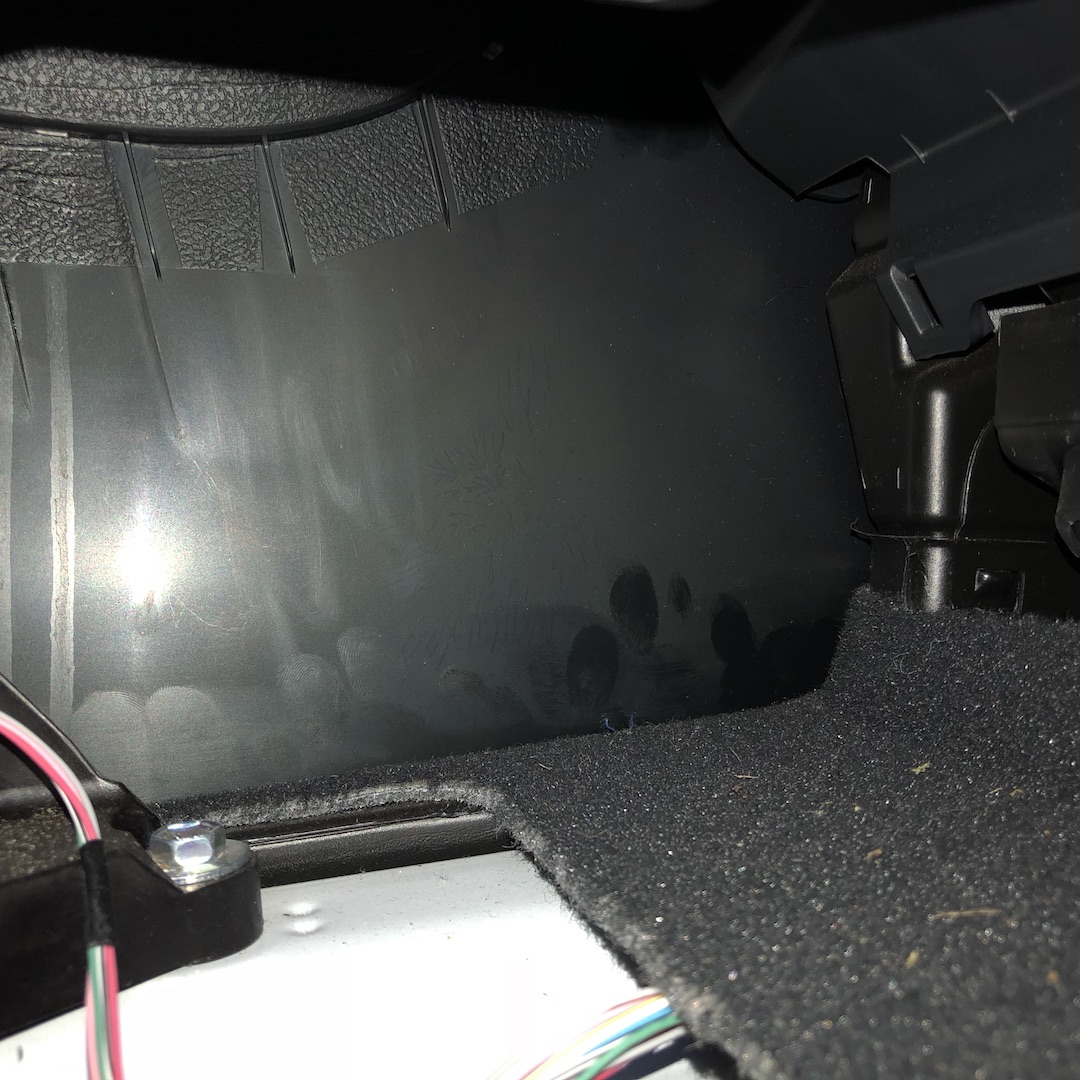
Behind that is an open area, but not a real good spot for the controller. There is an opening below it that leads into the area under the center console.

Kinda hard to see, but that red spot is a hole that leads to the bigger cavity in front of the shifter.
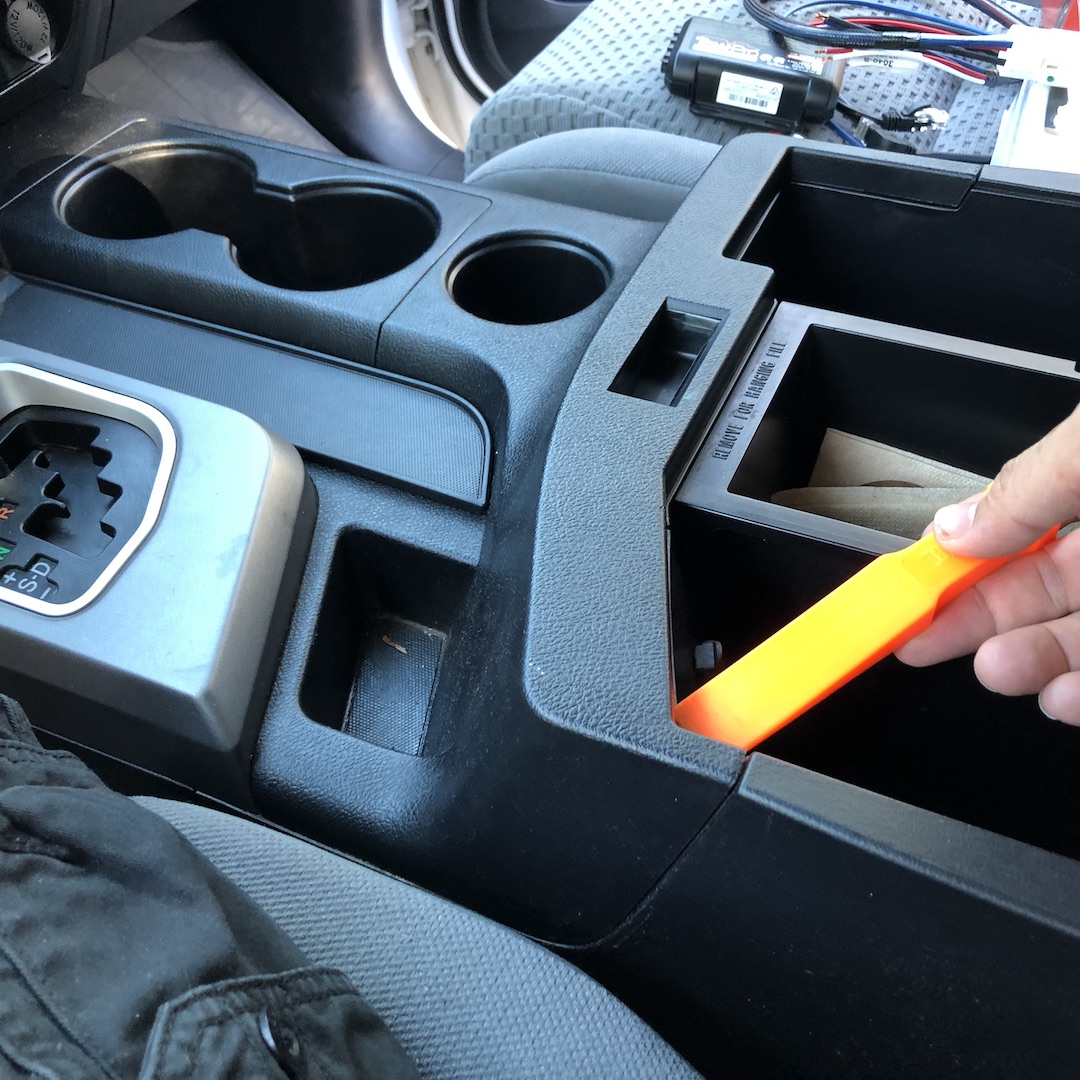
I opened the center console lid and popped off the plastic that contains the cupholders.
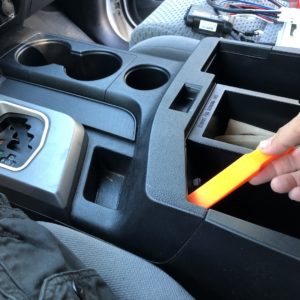
Removing the cupholders to access the cavity below and in front of the shifter.

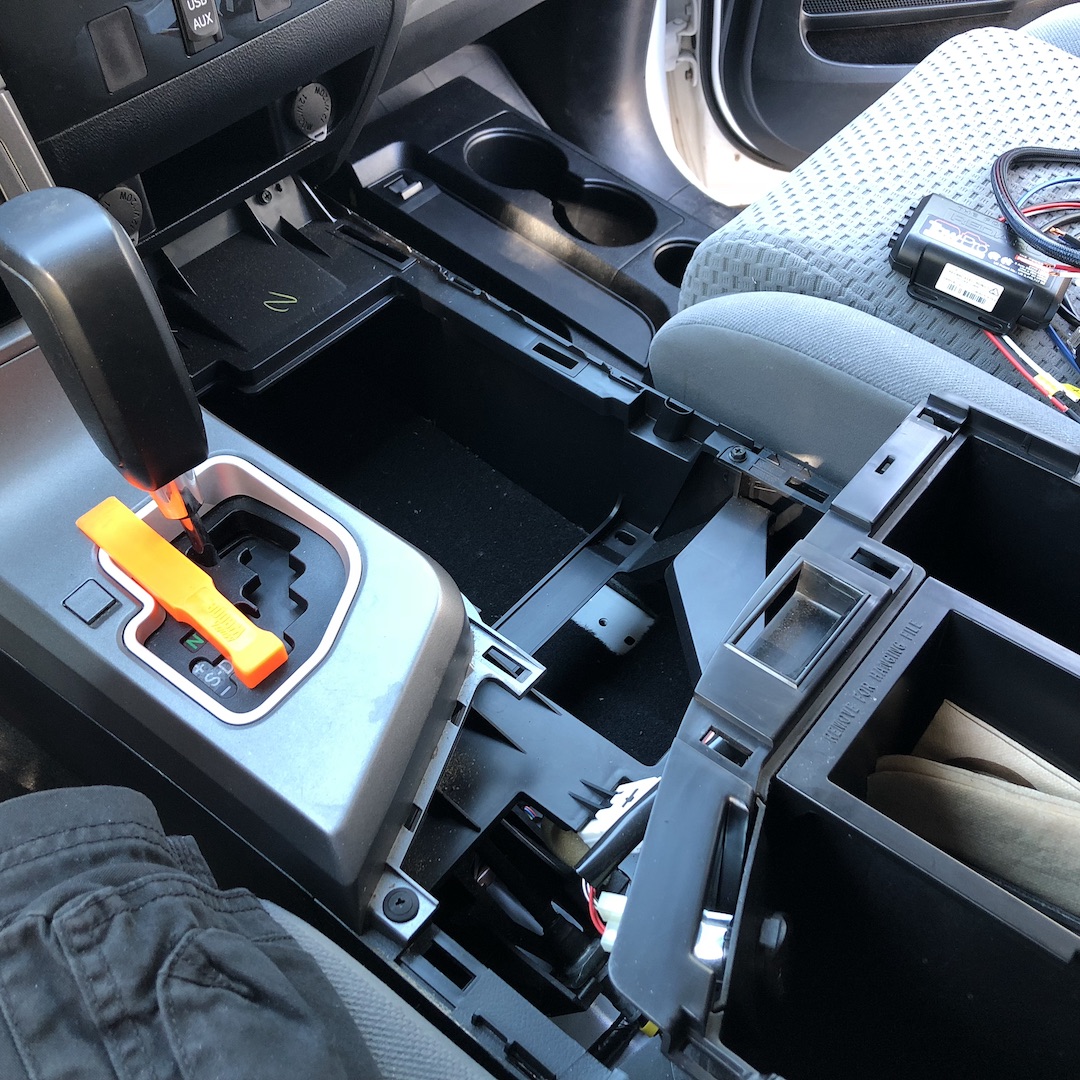
What it looks like with the cupholders removed.
Once that was off I was able to see that in front of the shifter there was a perfect place to install the controller unit. The wires would feed up through the opening to reach the button and the power leads would easily route from there across the underside of the dash below the steering wheel to the factory plug.

Vertical spot in front of the shifter to mount the controller box.
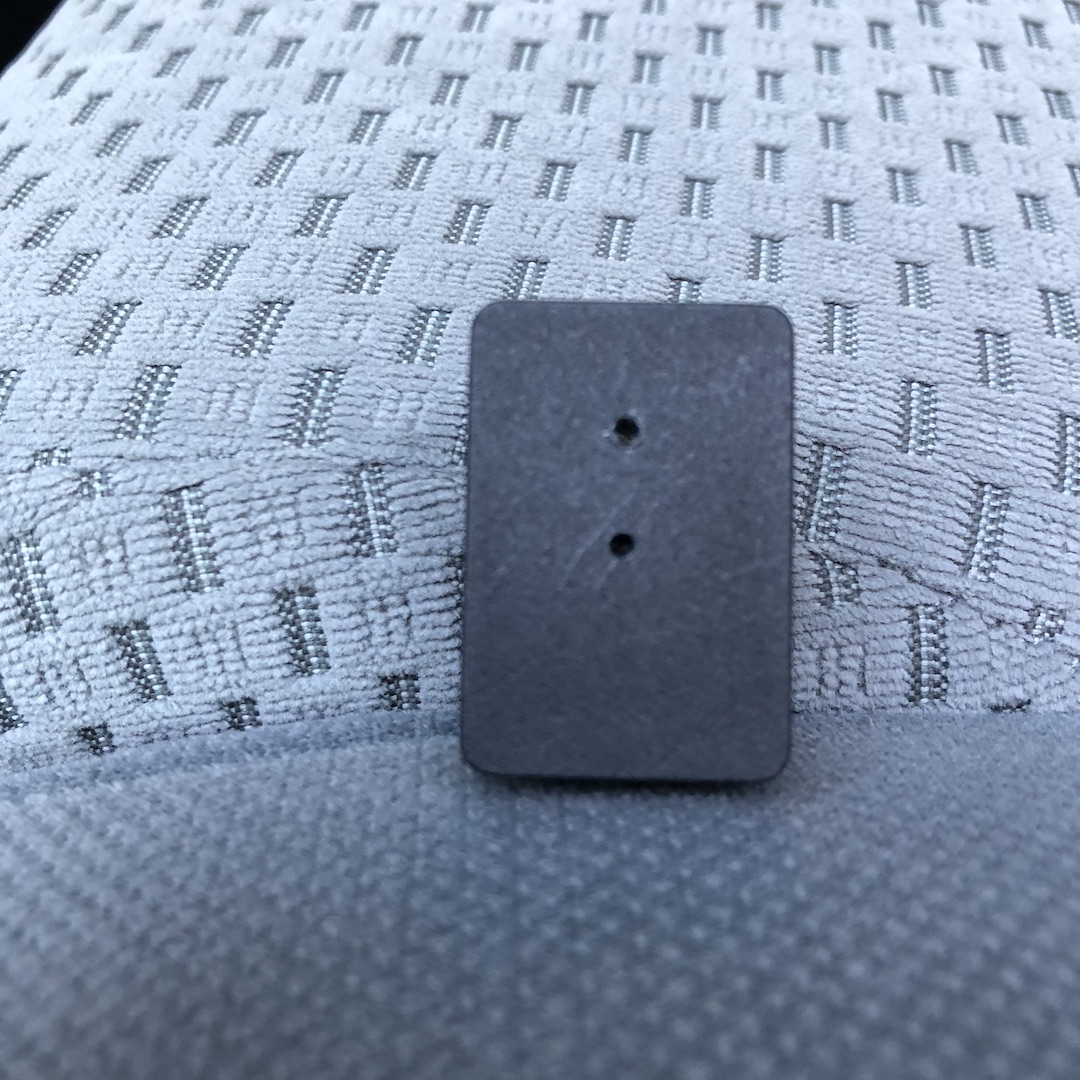
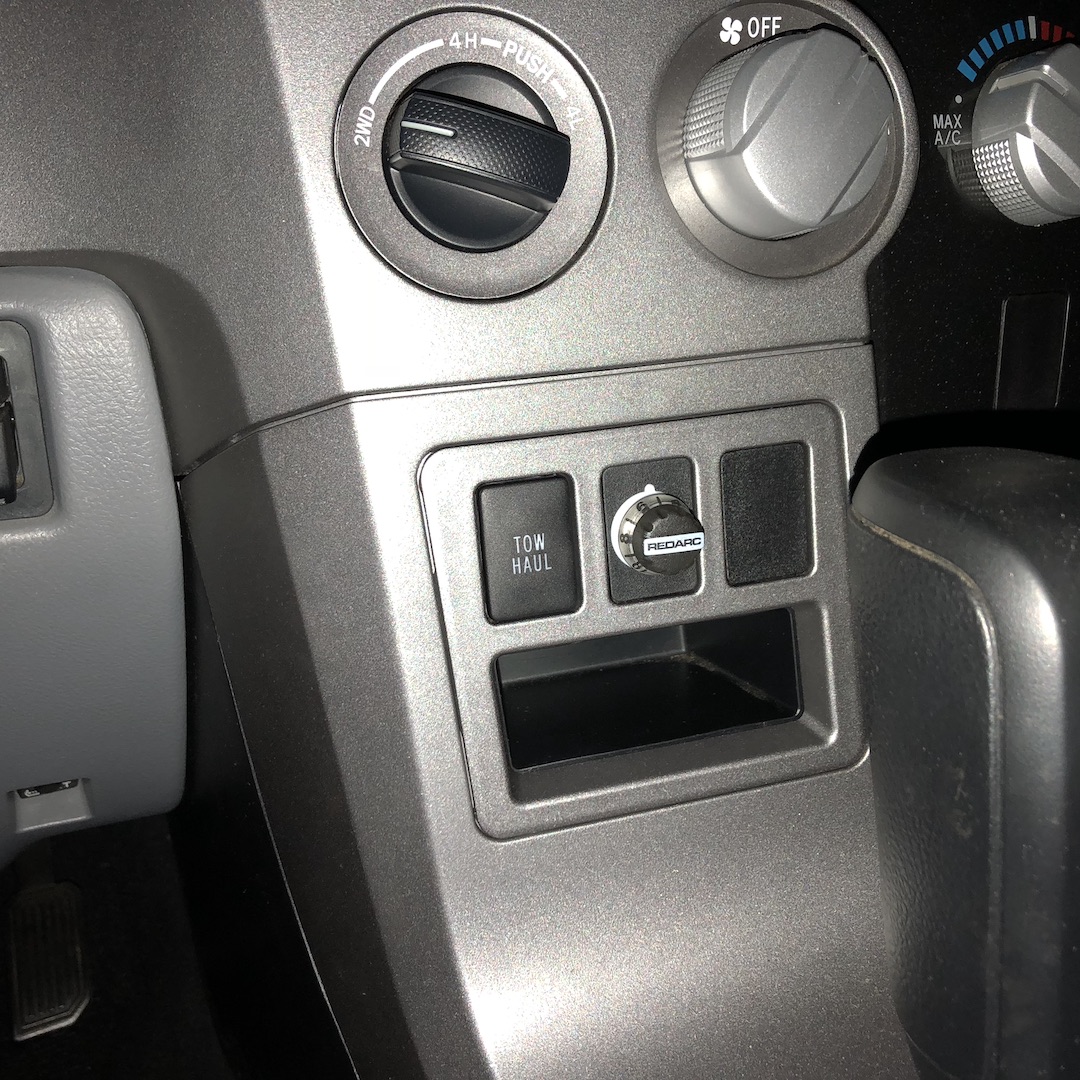
I then modified one of the switch blanks to accept the Redarc button and installed it. This gives the Redarc trailer brake controller in a 2nd Gen Tundra/Sequoia a stock look.
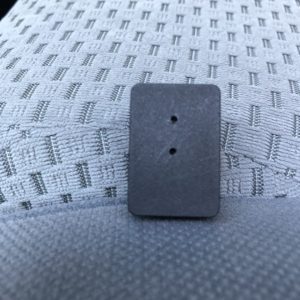
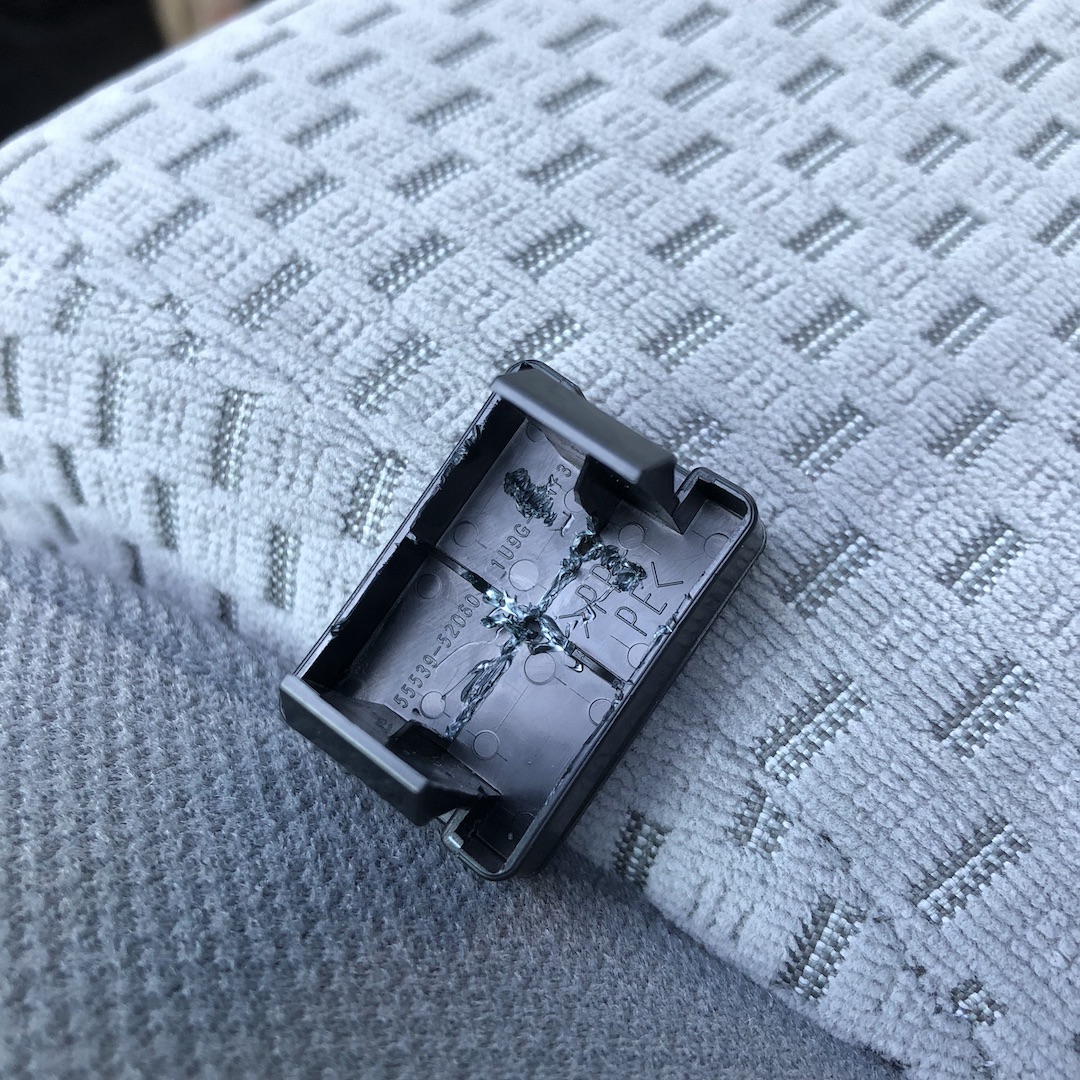
Started with two small holes, one for the light, one for the rotary switch.
Cut out the support material so that the switch will sit flush in the back.
Initial fitting of the switch and switch blank in the panel.
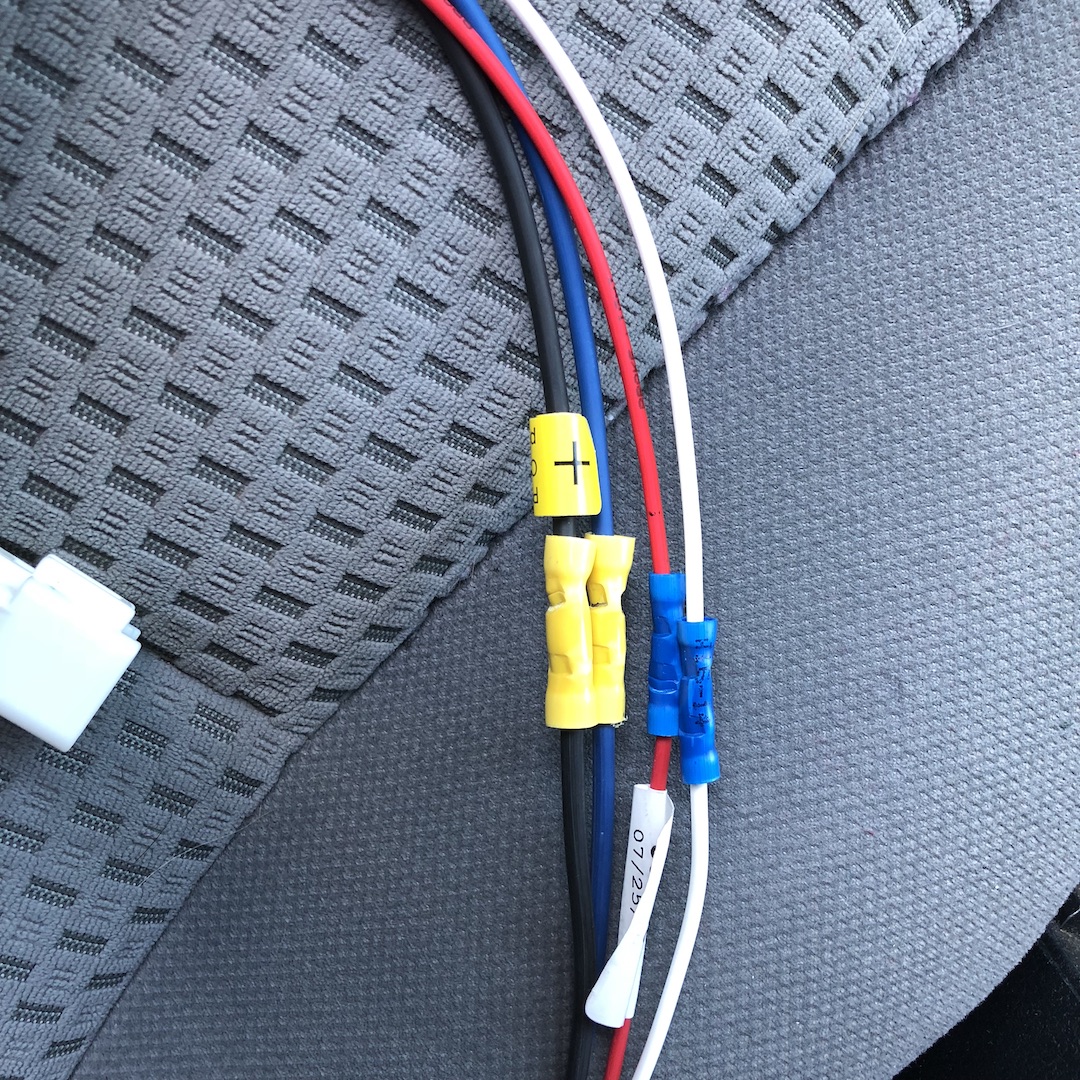
Next I prepped the wiring harness by connecting the power harness for the Redarc with the pigtail that plugs into the factory plug. This pigtail makes the trailer brake controller install simple.

Assemble the wiring harness.
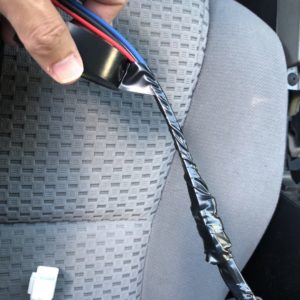
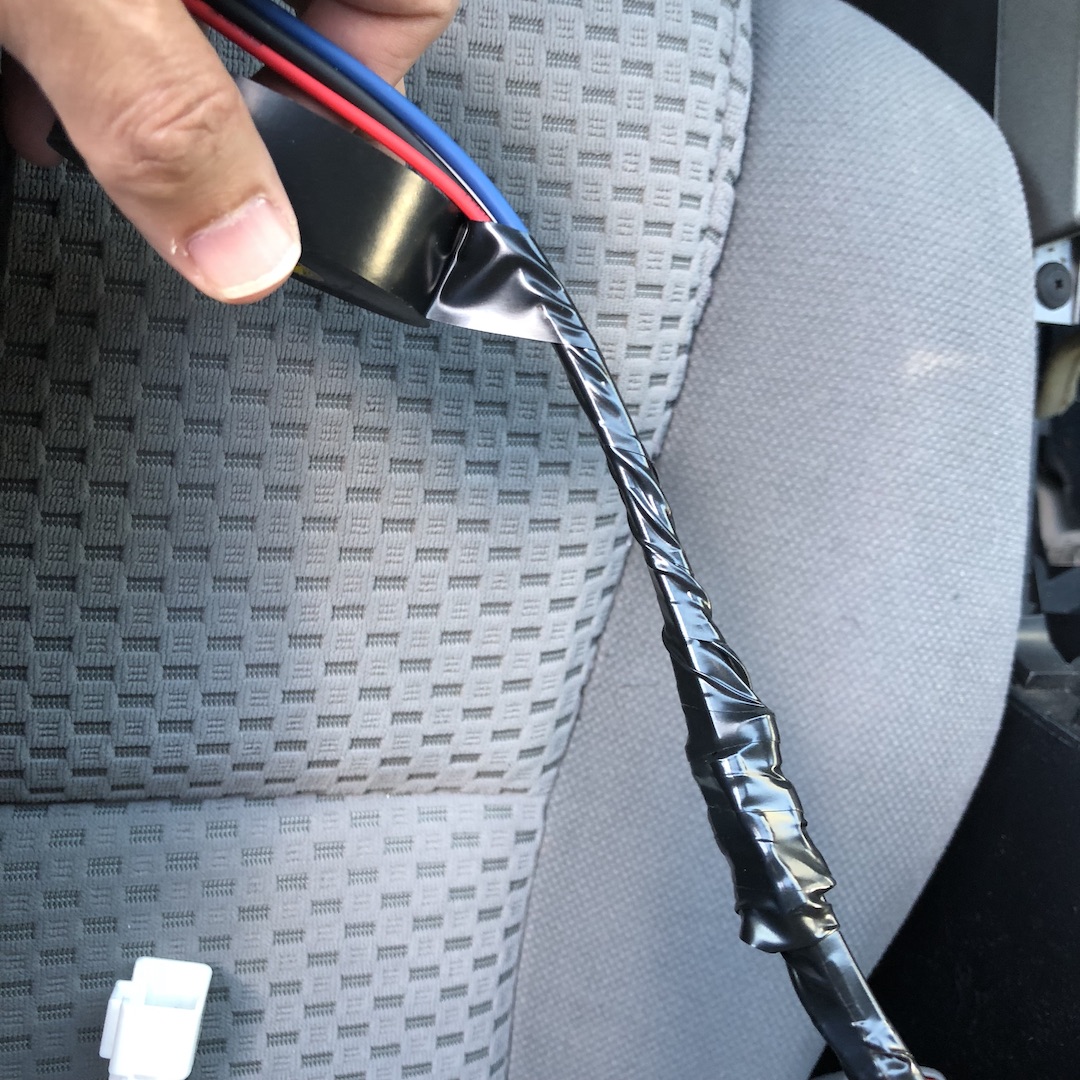
Wrap the wiring harness for protection from debris and abrasion.
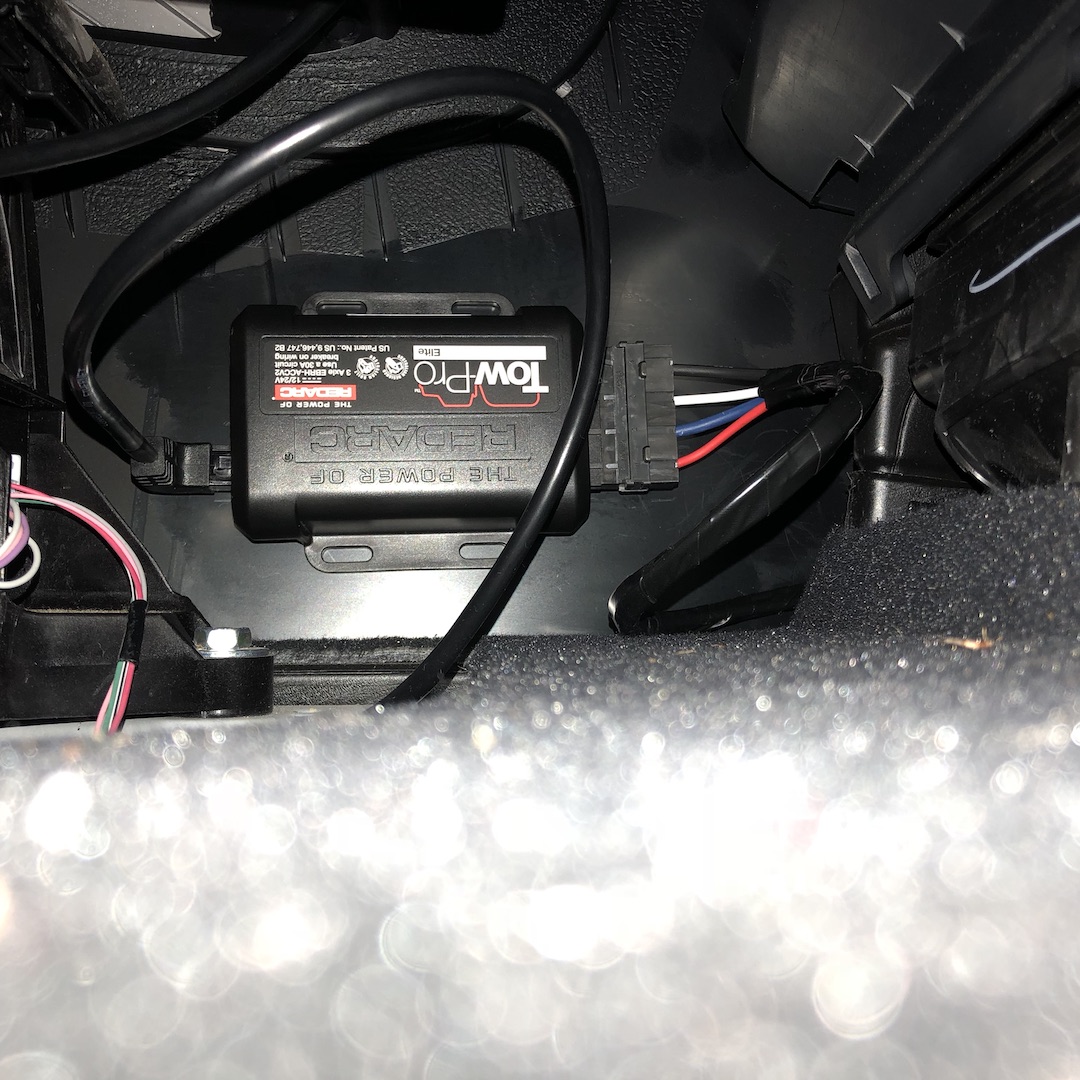
Next I cleaned the area that the controller would be mounted to with some rubbing alcohol and mounted it with some heavy duty double face tape.
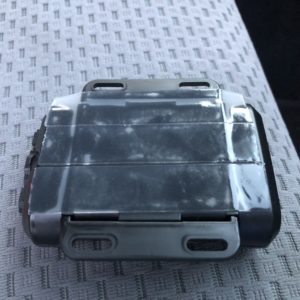
Double face mounting tape rated for outdoors on controller box.
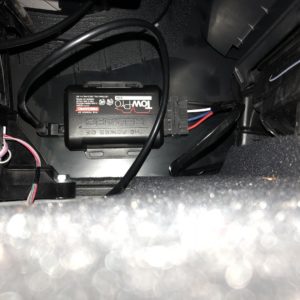
The controller box is mounted in front of the shifter vertically up against the inside of the center console plastics.
Routed the wires from the controller to the switch and plugged them in.

Wires routed from the controller box up through the hole to connect to the switch.
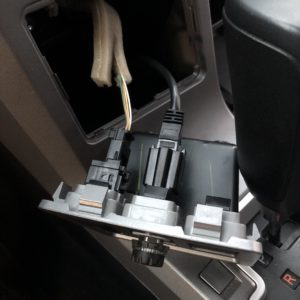
Hook up the switch and ready to close up the panel on the center stack.
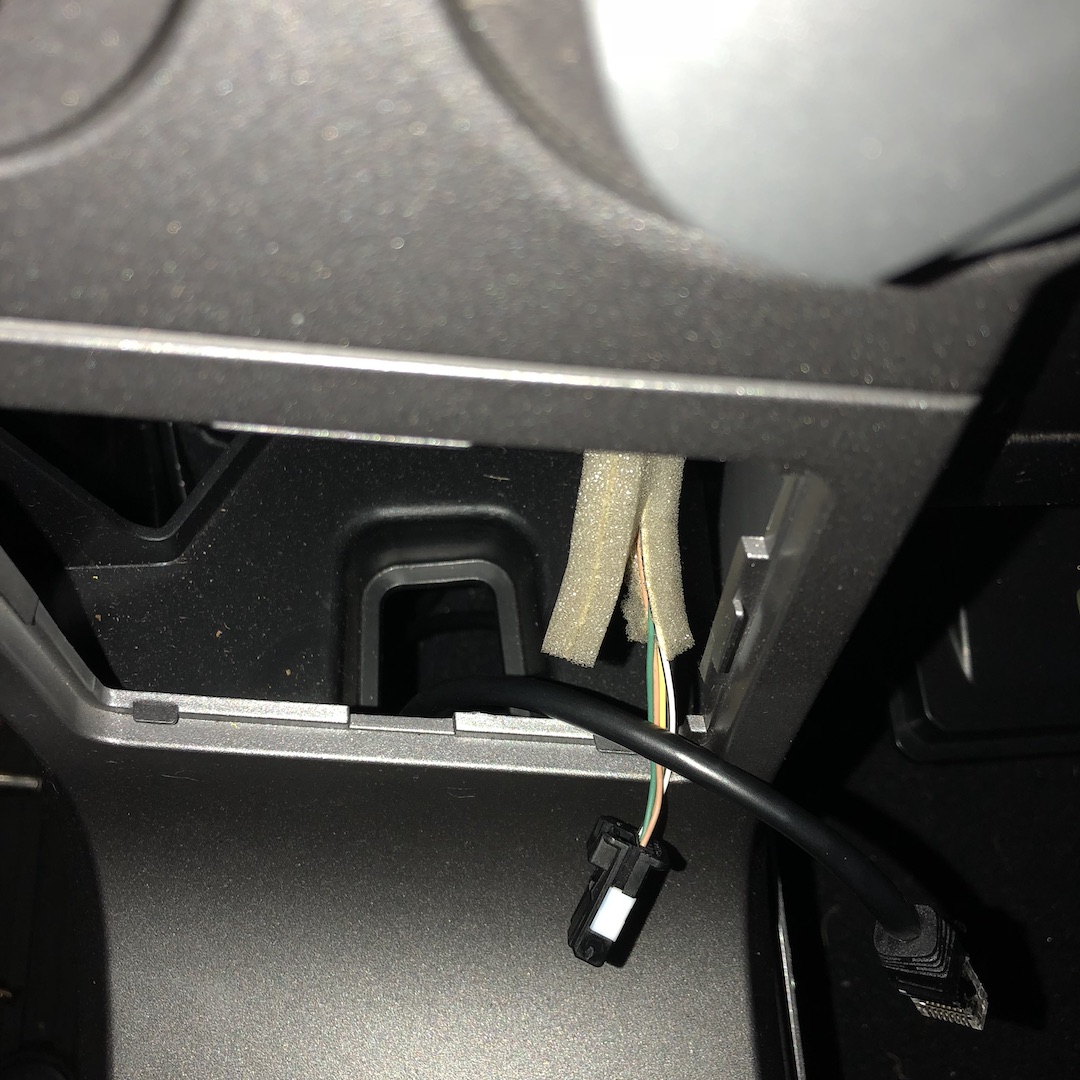
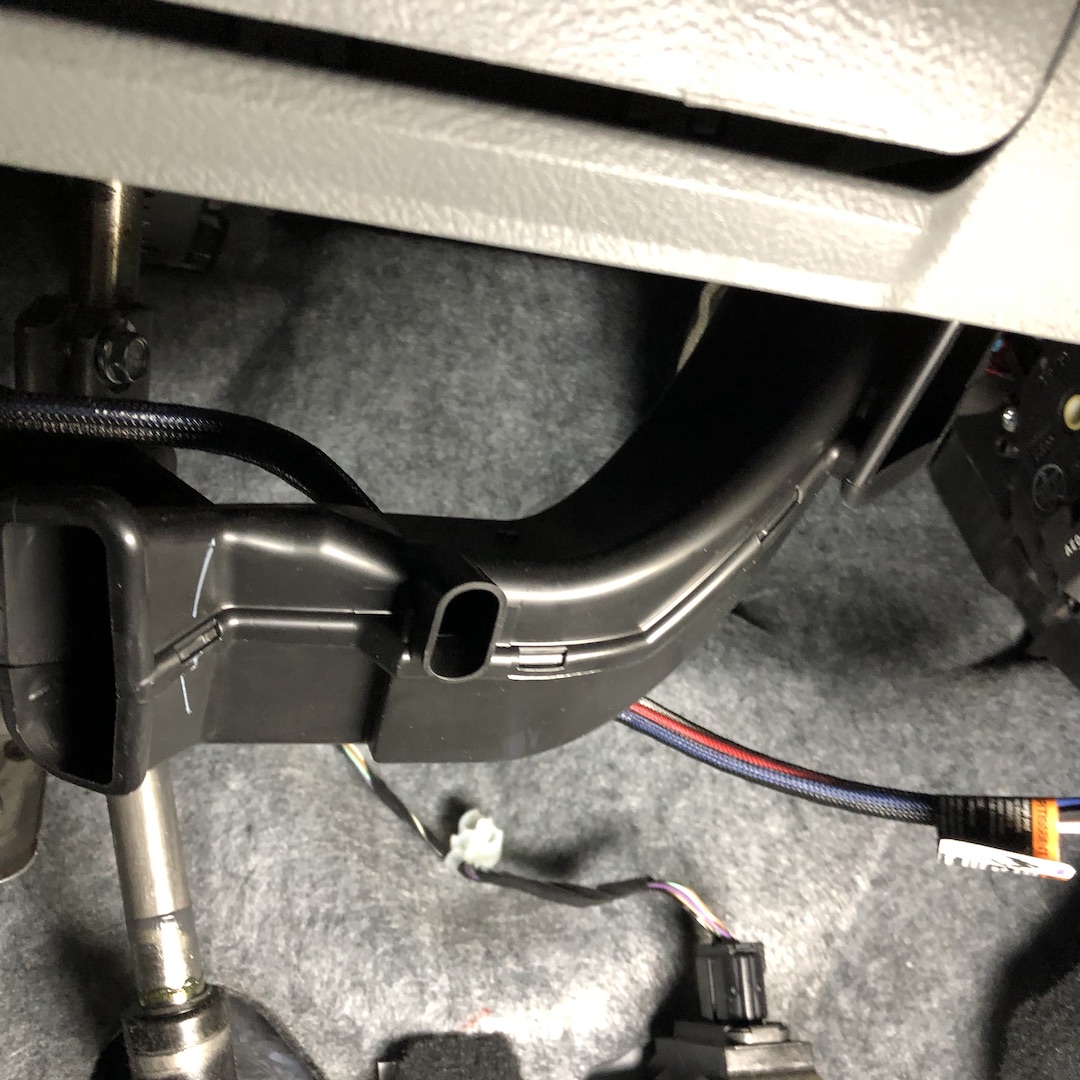
Routed the wires to the factory plug, zip tied them in place and plugged it in.
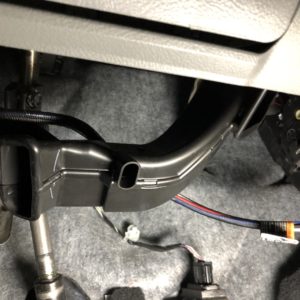
Route the power wires across to the factory trailer brake plug.
Buttoned it all back up, this stock looking Redarc trailer brake controller install in a 2nd Gen Tundra/Sequoia is ready to tow.
Clean stock looking install that is ready for many years of towing service.